Scan Documents
You can add scanned documents to a patient's record and timeline.
Before you begin
Before you can scan documents into Helix, ensure you have installed the Helix Agent.
Procedure
-
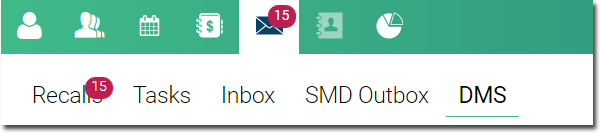
To access the Message Centre, in the Helix main
menu, select
 Message Centre.
- Click DMS.
- Locate the scan settings section.

-
Select the type of scan you want to perform:

Scans one or more pages into a single document. If your scanner can scan multiple pages, for example, via a sheet feeder, you can combine multiple pages into a single document. 
Scans one or more pages into multiple documents.
For example, suppose you have two specialist letters for your patient, and each letter has three pages. Set the page indicator to
 and then click
  The first three pages (letter 1) will be scanned into a
document, and then the last three pages (letter 2) will be scanned
into a second document.
The first three pages (letter 1) will be scanned into a
document, and then the last three pages (letter 2) will be scanned
into a second document. -
Click Scan.
A progress window shows when the scan is underway...

...and then completed.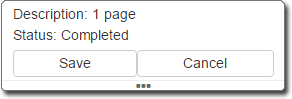
-
You can continue to scan documents if desired. Do not click
Save until you have scanned all the documents you want to
for this session.
From this point you can:

Save the scan. Continue now to Scan Documents. 
Cancel the scan. 
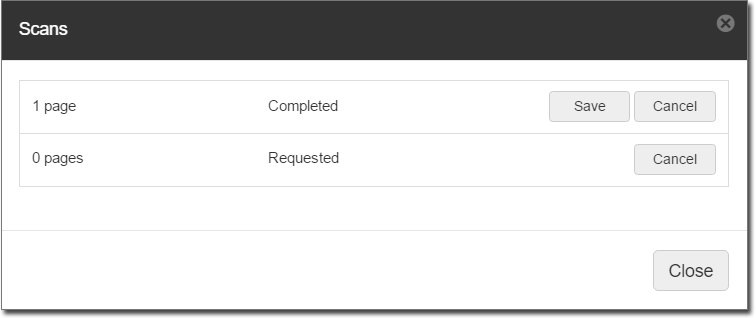
Examine the scan queue.
-
When the scan has completed, all the documents you scanned are added to a list on
the left-hand side of the panel. In this example, we have scanned nine documents.

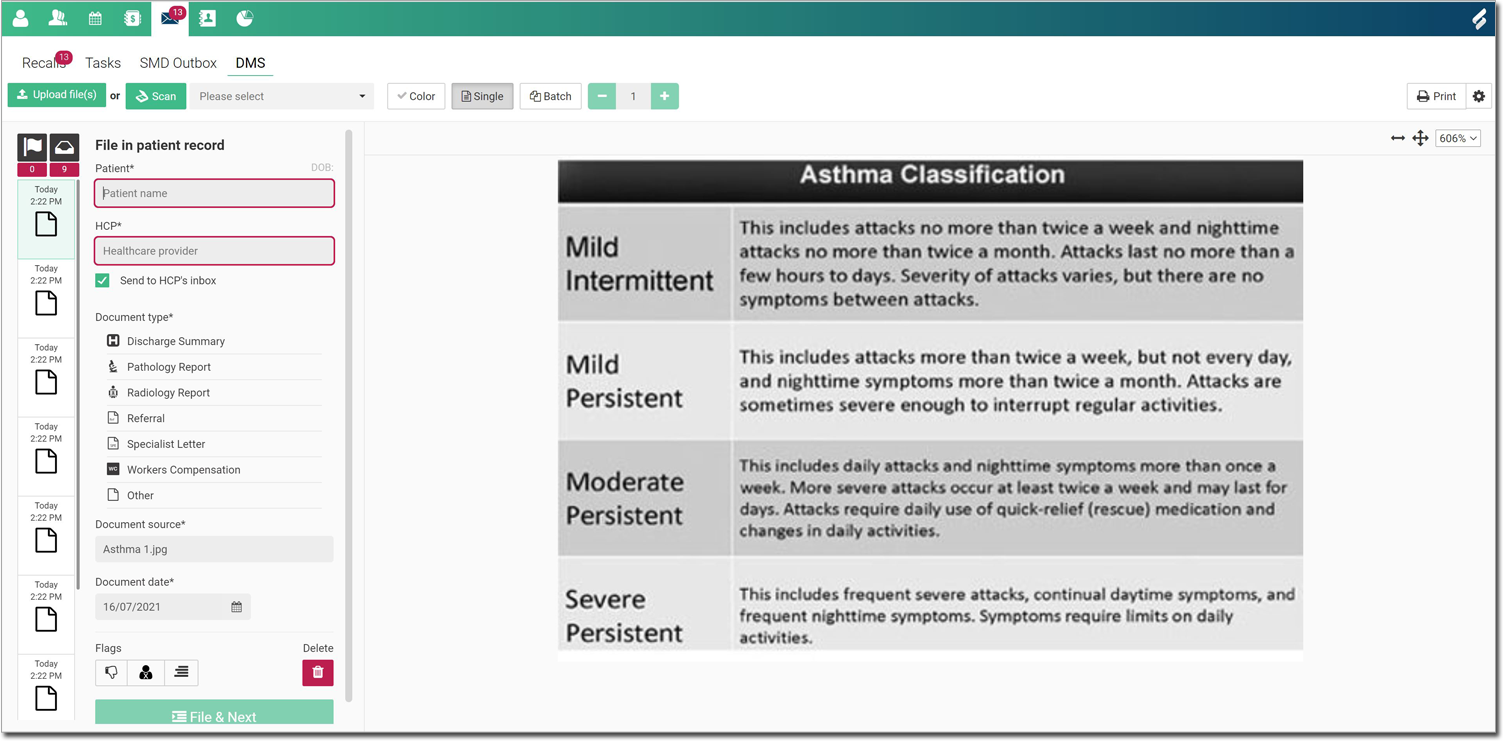
- Select one document at
a time and add the following information:
- Patient - patient in whose record you want to file the documents
- HCP - assign to the patient's practitioner for review, such as follow up or recall.
- Assign to HCP - file a copy of the document in the
selected practitioner's Message Centre > Inbox.
- Document type - classify the document as a specific type,
so that the document can be easily found in a patient’s timeline using the
 History filter.
 - Document source - the name of the uploaded document.
- Document date - the date on which you received the document. The date on which it was uploaded is populated automatically. Update the date if required.
- Flag the document if required.
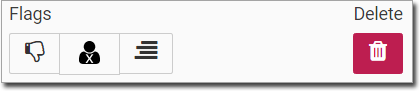
Table 1. Optional document flags Flag Description 
Flag as a bad scan. 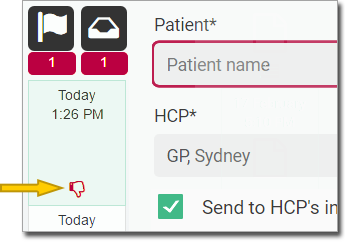

Indicate that the associated patient could not be found in the system. 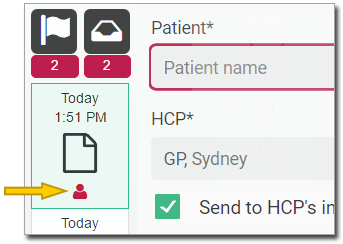
Documents flagged in this way can be left in the system until you have created a record for the patient.
Add a custom flag. 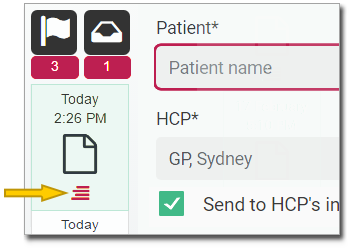

Delete the selected document.
- When you are ready to save the selected document to the patient's record, click File & Next.
Results
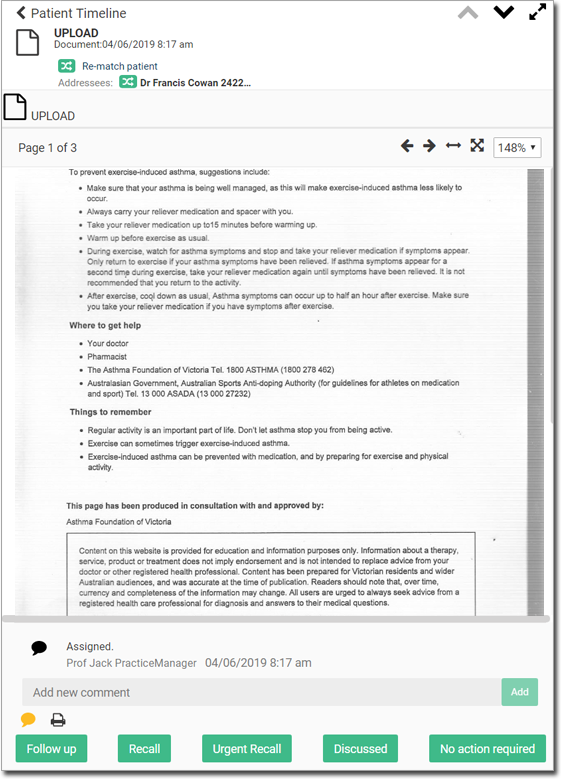
After a scanned document has been assigned to a patient, it is added to the patient's Timeline.
In this example, we scanned a document, recorded its source as Fax, and assigned it to
the patient. Fax now appears in the patient's timeline.
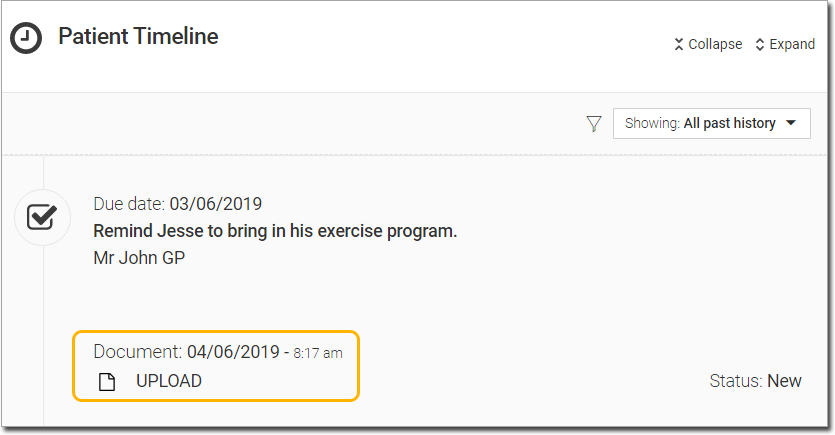
Click on the entry in the Timeline to view the scan.