Import a Document
Upload a document to Helix, classify it and assign it to a patient and HCP.
About this task
You can upload a single document or multiple documents simultaneously.
A maximum of 25 documents can be uploaded at one time. The file size of each document cannot exceed 30 MB. Supported file formats are JPG, TIFF and PDF.
Procedure
-
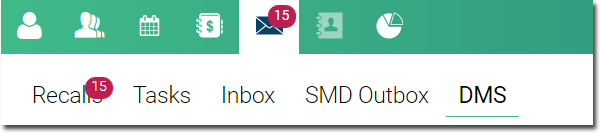
To access the Message Centre, in the Helix main
menu, select
 Message Centre.
- Click DMS.
- Click Upload File(s).
-
Locate and select the files you want to upload and click
Open.
The files are uploaded and added to the bottom of the list of uploaded or scanned files. In this example, 7 documents have been uploaded.
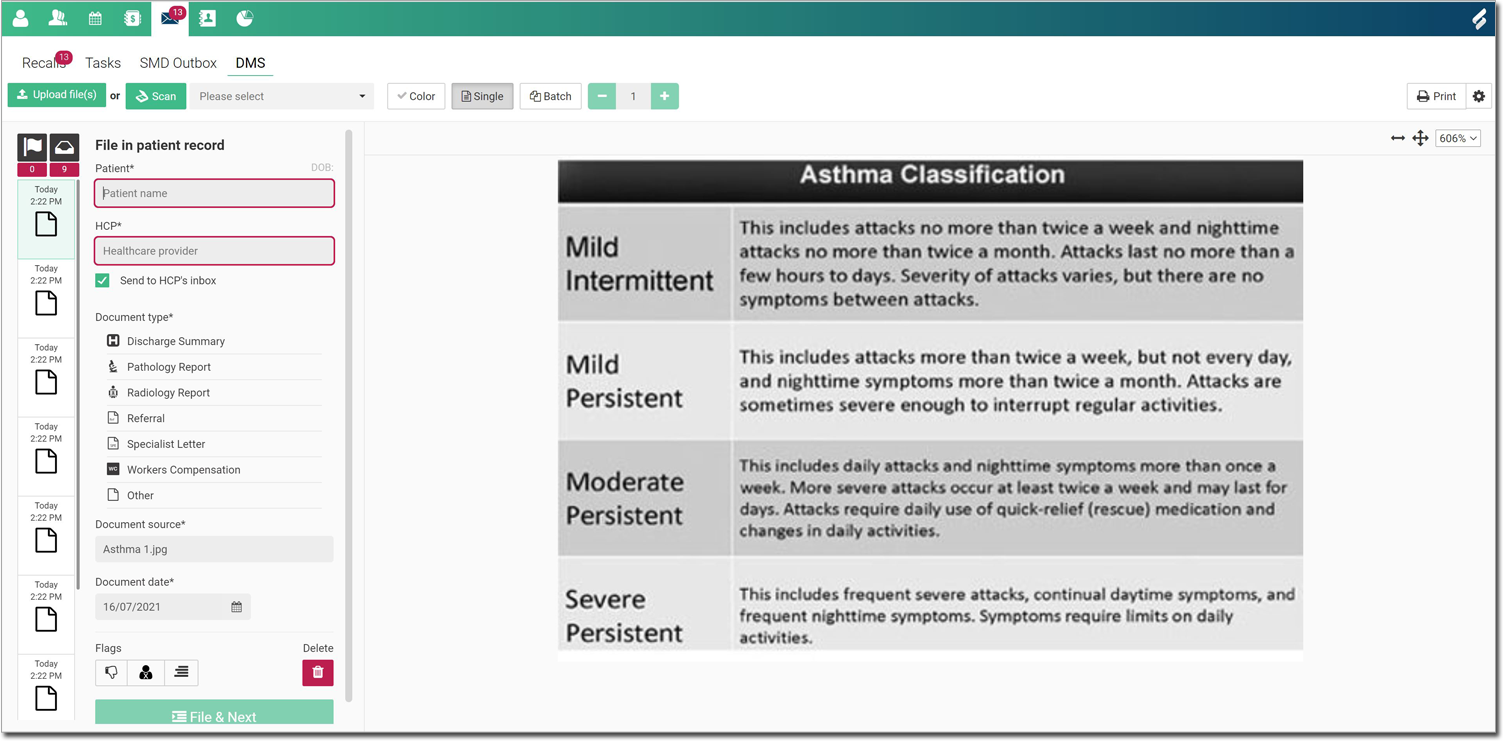
- Select one document at
a time and add the following information:
- Patient - patient in whose record you want to file the documents
- HCP - assign to the patient's practitioner for review, such as follow up or recall.
- Assign to HCP - file a copy of the document in the
selected practitioner's Message Centre > Inbox.
- Document type - classify the document as a specific type,
so that the document can be easily found in a patient’s timeline using the
 History filter.
 - Document source - the name of the uploaded document.
- Document date - the date on which you received the document. The date on which it was uploaded is populated automatically. Update the date if required.
- Flag the document if required.
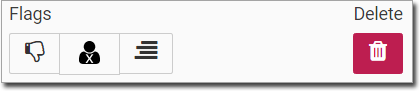
Table 1. Optional document flags Flag Description 
Flag as a bad scan. 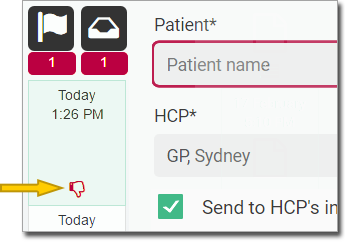

Indicate that the associated patient could not be found in the system. 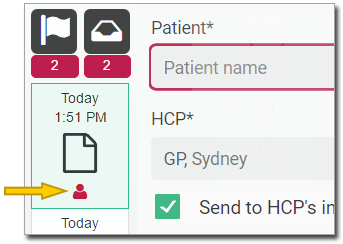
Documents flagged in this way can be left in the system until you have created a record for the patient.
Add a custom flag. 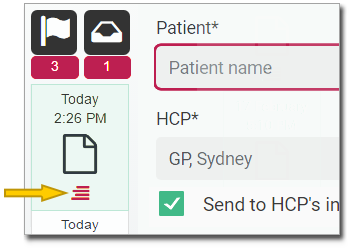

Delete the selected document.
- Click File & Next.
Results
The document is saved, removed from the DMS and displayed in the ![]() Patient Timeline for the selected patient.
Patient Timeline for the selected patient.
Documents assigned to a healthcare provider for review, for which Assign to
HCP is set, are also displayed in the ![]() Message Centre > Inbox for that provider.
Message Centre > Inbox for that provider.