Refunds
Process refunds from Helix to patients.
About this task
Procedure
To refund the amount:
-
Select
 Claiming, Banking, and Payments > History from the menu.
The Transaction History panel is initially displayed blank.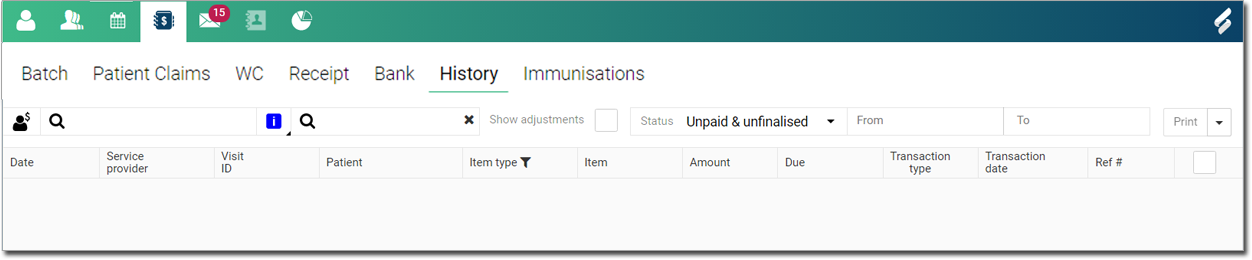
-
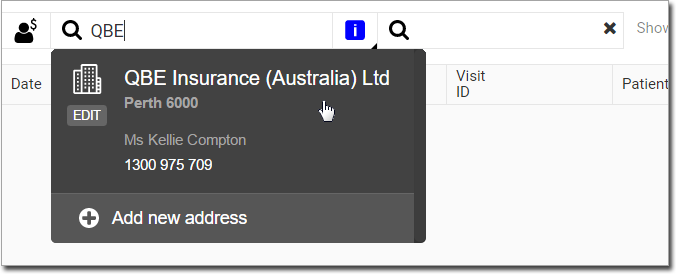
In the Search by account
holder field, to search the transactions, enter an
account holder.
Tip: Alternatively, in the Search by ref # field, enter a reference number. -
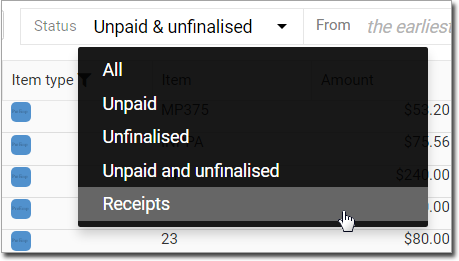
From Status list, select Receipts or
All.
Note:- An Unallocated amount is displayed in a green box.
- The due amount to the patient is also displayed in green in the Due column.
-
Hover your mouse over an item you want to refund, click
 Edit menu, and then select Refund from the
list.
Edit menu, and then select Refund from the
list.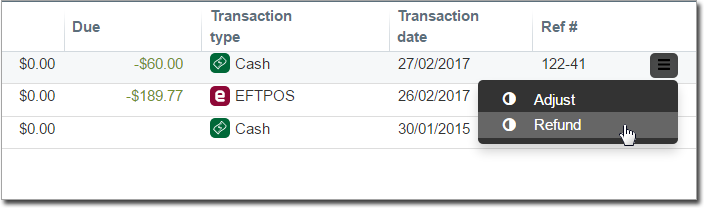
-
In the transaction item, complete the refund process:
- The transaction type used by the patient is also used for the refund, such as a cash refund (for example, as shown in the image).
- For Cash, EFTPOS, and HICAPS refunds, enter the refund amount (cannot be greater than the amount due to the patient), select a Category, and provide a Reason.
- For Credit card refunds, enter the amount (cannot be greater than the amount due to the patient), Date, Bank Transaction ID, and Total refund amount. Select a Category, and provide a Reason.

- Click Save.
Results
Once you have saved, a Refund confirmation prompt displays.
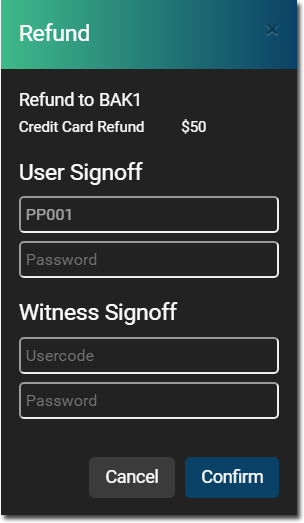
What to do next
In the Refund panel, to confirm the refund, enter the username and
password, and then click Confirm:

- A message indicates the receipt was refunded successfully in the system.
- The refund is displayed in the Transaction History, along with user details, date and time, reason, and comments.