Configuring a Provider's Appointment Settings
Customise each practitioner's schedule individually.
Before you begin
Permissions:
- Update Appointment Settings
About this task
Procedure
To set up a practitioner's appointment book:
- Open Appointment Book Settings.
- Select the Practitioner Settings tab.
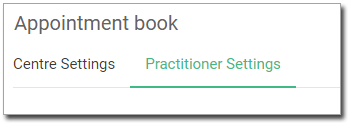
- Select who you want to customise settings for.

- From the Session Type list, select the required type.
-
In the Label field, enter the type of session you
want.

Note: Label and the associated Colour selector fields are enabled only when you set the Other session type. - On the Colour selector, select and choose the required colour for the session type.
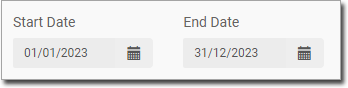
- Locate the Available Times section, and enter a Start Date and
End Date for this period of available times.
- Indicate how often this timetable will occur.
- In the example below, we have indicated it will occur every week day, every
week.

- In the example below, we have indicated it will occur every week day, every
week.
-
Indicate the time span the practitioner is available for.
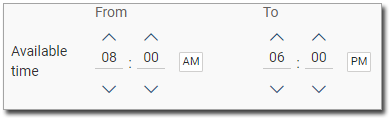
- Our practitioner is present from 8:00 am to 6:00 pm.
- Do not take into account any breaks the practitioner might have. You will record these next.
-
Indicate any breaks the practitioner has within the available period, and the
duration of each.

- Our practitioner will break from 11:30 am to 12:30 pm.
- Click Add Break to add each break. If you do not click this, the break will not be recorded.
- If the practitioner takes multiple breaks during the day, record each break separately.
-
To record a schedule, click Add Available Time. A schedule
is added to the table.
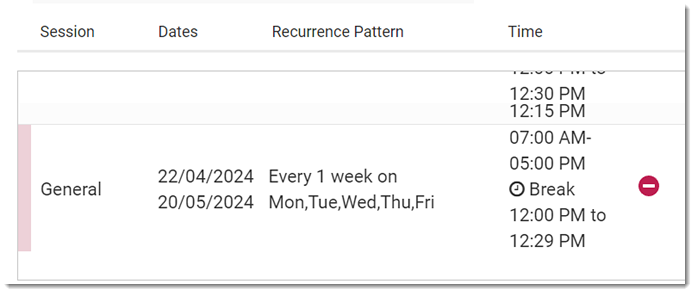
Tip: To delete a schedule, click Delete.
 -
To activate an appointment type, in the Appointment Types
section:
-
Click
 Edit on the required appointment type.
-
In the Edit appointment type panel, toggle
Active to on.
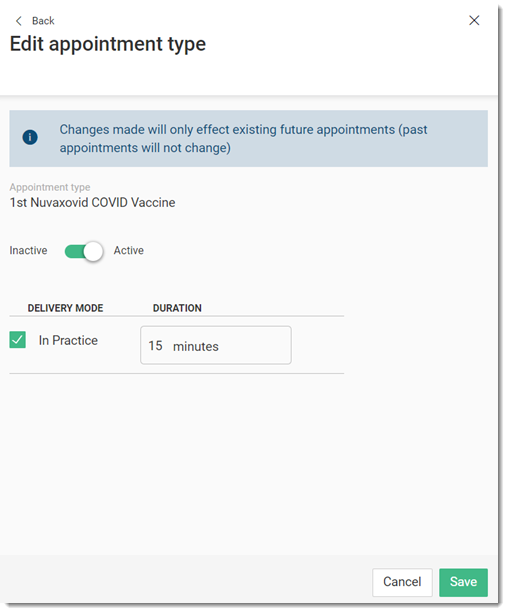
Tip: If required, update the duration of the delivery mode. -
Click Save.
Note:
- Alternatively, to activate the required appointment type, select
 More > Active.
 - The activated appointment type's status is shown as Active.
- Alternatively, to activate the required appointment type, select
-
Click
-
In the Notes field, add any notes about the appointment.
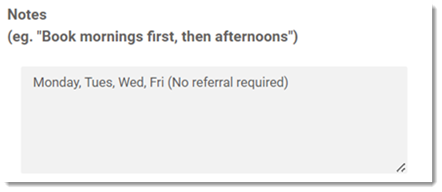
- Click Save Appointment Book.
Results
After you have saved the appointment book settings, the changes are updated in the
practitioner's Appointments book and the notes are added. To view
the notes, hover over the Notes field.

What to do next
In the Practitioner Settings panel:
- If you want to set an inactive appointment type as the default, you must first
activate it.Note: You cannot set a default for an inactive appointment type.
- Select More > Make default.
- After you have saved, the appointment type's status is shown as Default.
To deactivate an appointment type, in the Appointment Types
section:
- Click Edit on the required appointment type.
- In the Edit appointment type panel, toggle Active to off.
- Click Save.Tip: Alternatively, to deactivate an active appointment type, selectMore > Inactive.